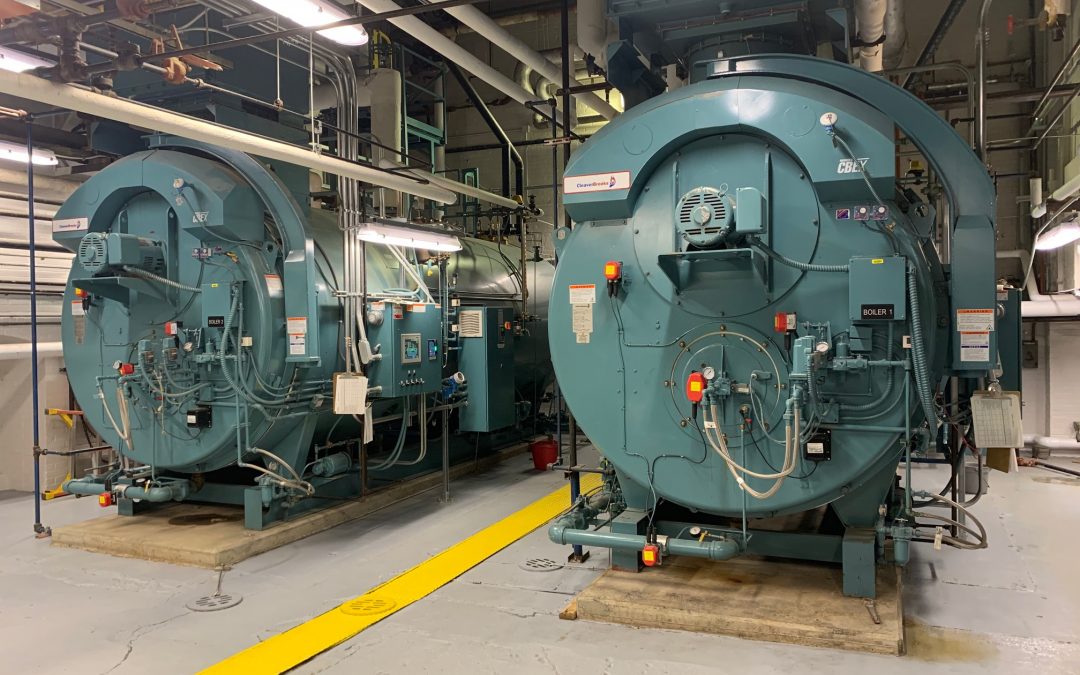
We at Energy Control have been in the energy conversion business, since 1972 selling, applying and servicing many boilers and related systems and equipment. Our decades of experience have helped us uncover opportunities to help our customers improve the Energy Plant System’s efficiency, reliability, sustainability.
How to properly bring boilers on and offline with both hot & cold systems is one of those opportunities to safely care for your boiler system.
Bring a Cold Boiler into a Cold System
- Starting with introducing a cold boiler into a cold system, it should be understood that the entire piping system and the boiler(s) are cold or at ambient temperature. This means the boiler and total system is contracted and will expand as the system heats up.
- As a result, it’s very important the Facility Engineer and/or Boiler Operator follow these basic instructions to especially sustain safety & reliability:
- Check the system piping and valves for any evidence of leaking such as dripping or excessive calcium deposits on the piping, joints and fittings. Note or take immediate action to remedy.
- Check the fuel supply and if burning heavy oil that the preheating equipment (electric and/or steam) is functional. If light or heavy oil, that the tank is full and void of water near the bottom of the tank. This is done by inserting a long stick in the tank and observing if the bottom of the stick is clear/damp indicating water. If firing gas, the proper pressure at the main regulator is present.
- Check to assure any inspection openings in the boiler are properly gasketed and closed. Check for any covers on the exhaust stack, and that any manual dampers in the breeching or stack are open.

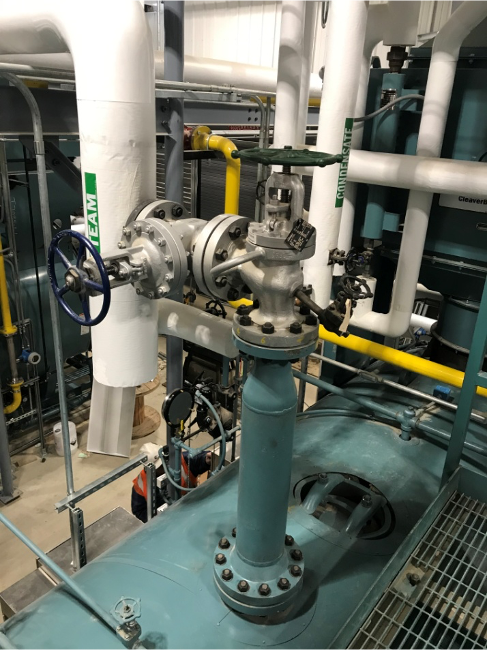
Figure #1 – Step 6
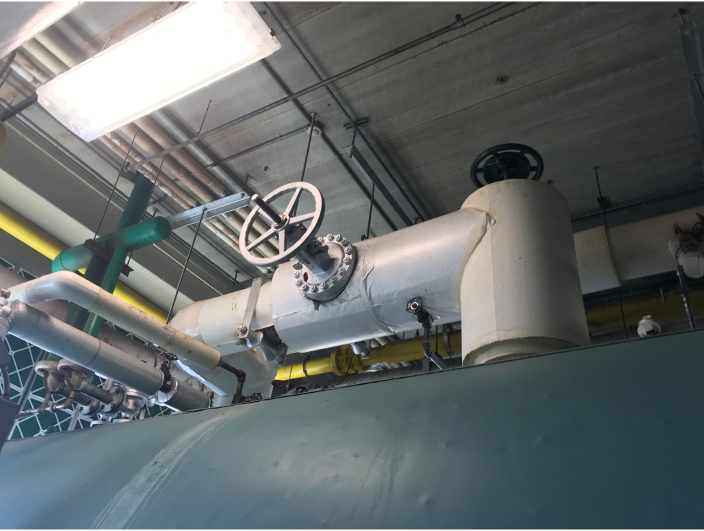
- Open the boiler vents including those in the immediate piping. Open the manual boiler feed valve. Make sure the blowdown valves are closed, and any by-pass valves are closed such as those around the main stop valves (Figure #1). Open the manual gas valve(s), and check for any leaking of the automatic valve(s) in both the main and pilot. Check the safety valve(s) for proper piping and safe discharge through the roof.
- Fill the boiler with water to the proper level as indicated in the boiler’s sight glass.
- Check the boiler feed system including the pumps for proper alignment and packing if required. Check the automatic feed water valve for any signs of leaking or need of repair. Allow the boiler feed system to fill to its proper level and apply power to check the operation of the pumps including their pressures.
- Check the condensate transfer pumps throughout the system for proper condition and operation.
- Engage the burner switch, bringing power to the boiler’s control circuit, visually inspect the pilot and main flame ignition. Test the flame scanner for proper operation by pulling it out to see if the burner shuts down on flame failure. Then reinsert, and restart the burner.
- Begin warming the boiler slowly, allowing for gradual expansion. If the boiler includes a superheater, open its outlet drain valve. Now open the (automatic) non-return and main steam stop valves. In some cases, this may be two (2) manual stop valves. Open all drain valves in the system to allow condensate to exit the piping before steam fills it. Note: Close these valves once system line pressure approaches operating setpoint(s).
- Watch the gauge glass on the boiler’s low water cutoff to make sure the proper level is maintained.
- Close the boiler air vent(s) once the pressure reaches approximately 15 psig.
- Blowdown the low water cutoff and its gauge glass; briefly opening their respective valves to purge contaminants from the device.
- Check all the operating systems including the boiler and the boiler feed system for proper operation.
- Check the water softener and/or dealkalizer for electrical power, operation and brine tank filling.
- Switch the boiler over to automatic operation and monitor for a time to assure safe, reliable operation.
- Inspect and observe the piping system’s expansion joints for their ability to properly expand or the piping to move over rollers when the system “grows” with heat.
Bringing a Cold Boiler into a Hot System

In a Hot Start, many of the procedures apply, but ensure the main stop valve and non-return valves are closed and the free blow drain is open.
Next, let’s look at bringing a cold boiler into a hot system, one requiring additional steam to meet an expanded load.
In this case, follow the items above if applicable, and including numbers 3, 4, 5, 6, 8 – 15. Then Open the bypass equalizing valve around the main steam stop valves.
Automatic Non-Return Valve
Next, open the automatic non-return valve once the pressure in the boiler reaches 70 – 80% of the line pressure. This allows this valve to automatically cut the boiler into the system once it reaches the line pressure. Now close the equalizing bypass valve used to temper the main steam valves.
Manual Stop Valves
In the event that an automatic non-return valve is not used, rather two (2) manual stop valves are employed:
- First, open the manual header valve farthest away from the boiler.
- Next, slowly open the stop valve closest to the boiler allowing pressure to slowly climb to slightly below the line pressure before fully opening it. This allows any condensate in the main line to enter the boiler rather than remaining in the main header, greatly negating the possibility of incurring damaging water hammer.
Boiler Shutdown
- Power the burner off
- Shut off the fuel to the burner
- If equipped, open the superheater outlet drain valve
- Close the main steam stop valve(s), and open all drains
- Open the boiler vent when the pressure in the boiler is about 10 psig. This prevents a vacuum from forming.
- Shutdown the boiler feed system if it is dedicated to this particular boiler.
Following these basic instructions will go a long way in not only providing much-improved reliability, and safety for the operation, but significant downtime savings as well which in many operations can equate to thousands of dollars per hour.

